What I've used to make this card
2 x A4 sheets of lilac card
1 x A4 sheet of silver card
1 x A4 Sheet of patterned paper
1 x A5 Sheet of white card
1 image from sheet of craft creation die-cut decoupage
Some peel-off glitter boarders and corners
10inch strip guipure lace
Some fine florist wire
Some Pearl headed florist pins
Beads, Tiny bow and satin roses
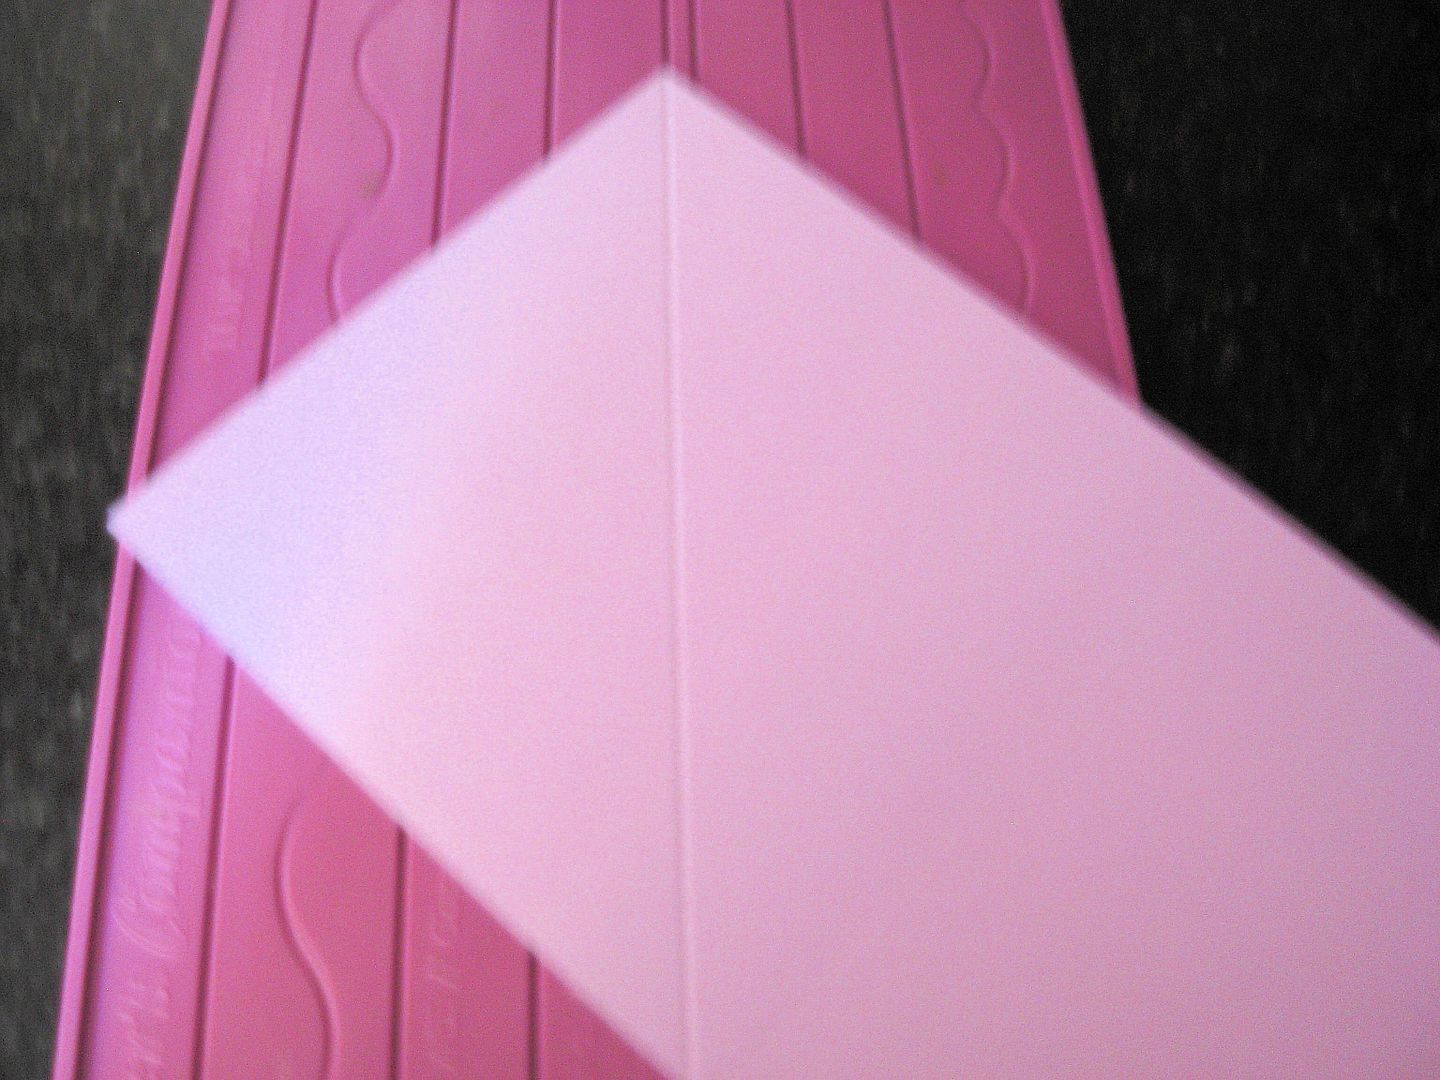
1. Cut a sheet of A4 Card to 15cm by 30cm.
2. Score the card in half (giving you 2 x 15cm Squares
3. Score the top half of the card diagonally.
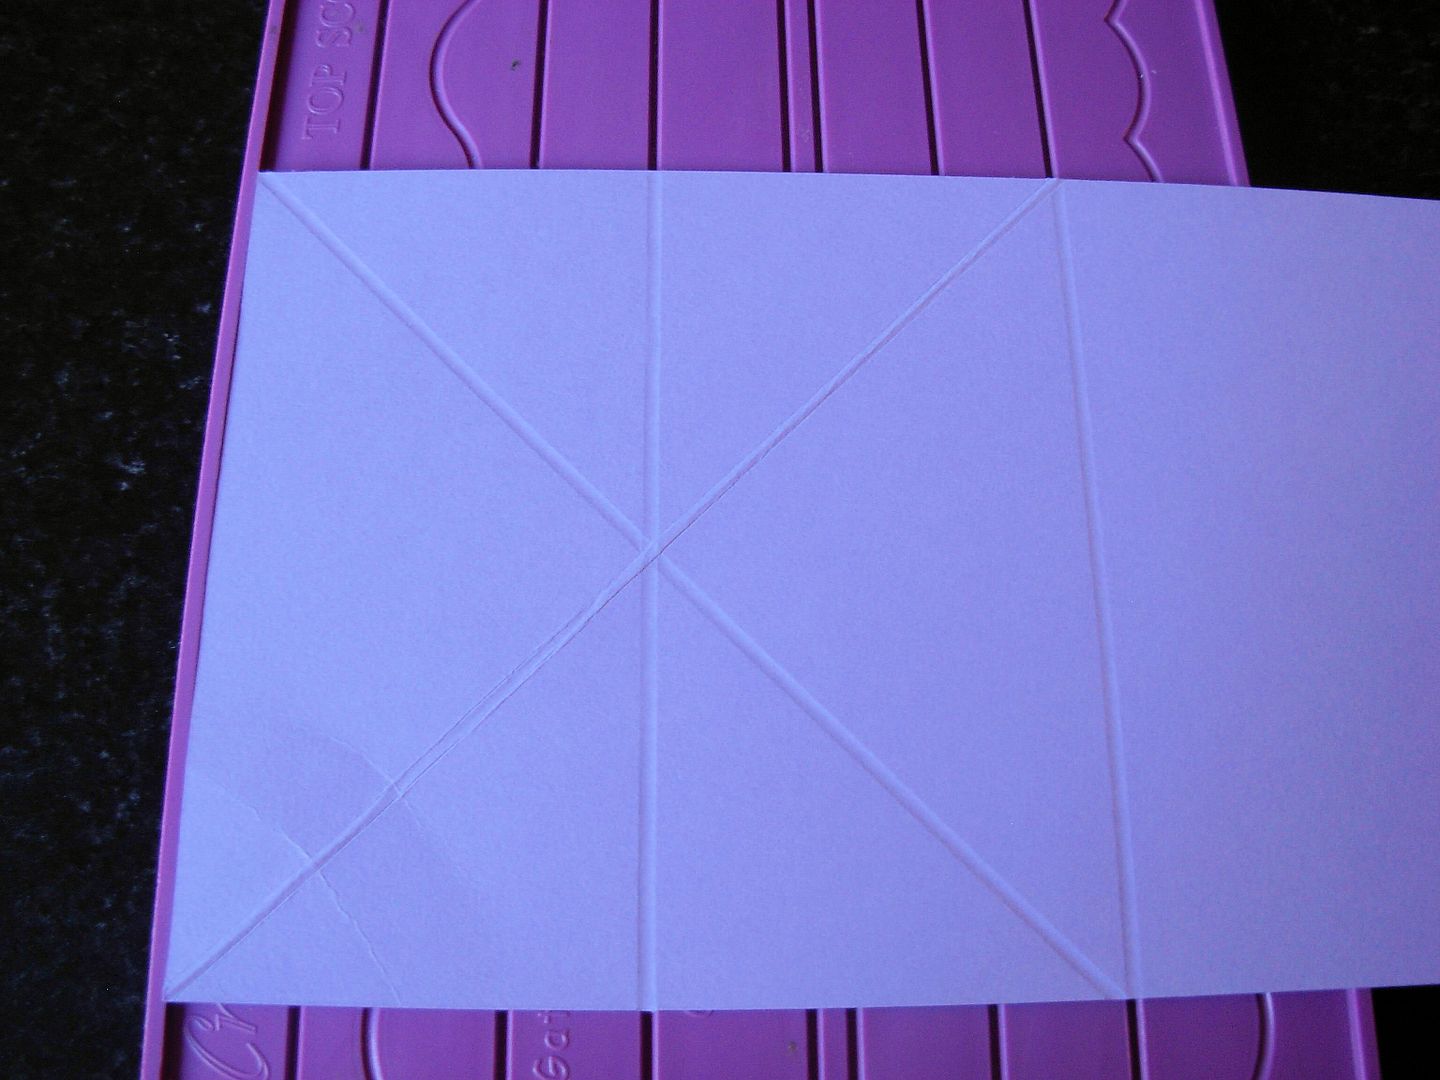
4. Turn card and score it again diagonally.( Take care while doing this as it's easy to pucker the corner)
5. Now score the top half through the diagonal lines
6. This will give you 2 large triangles and 4 smaller ones
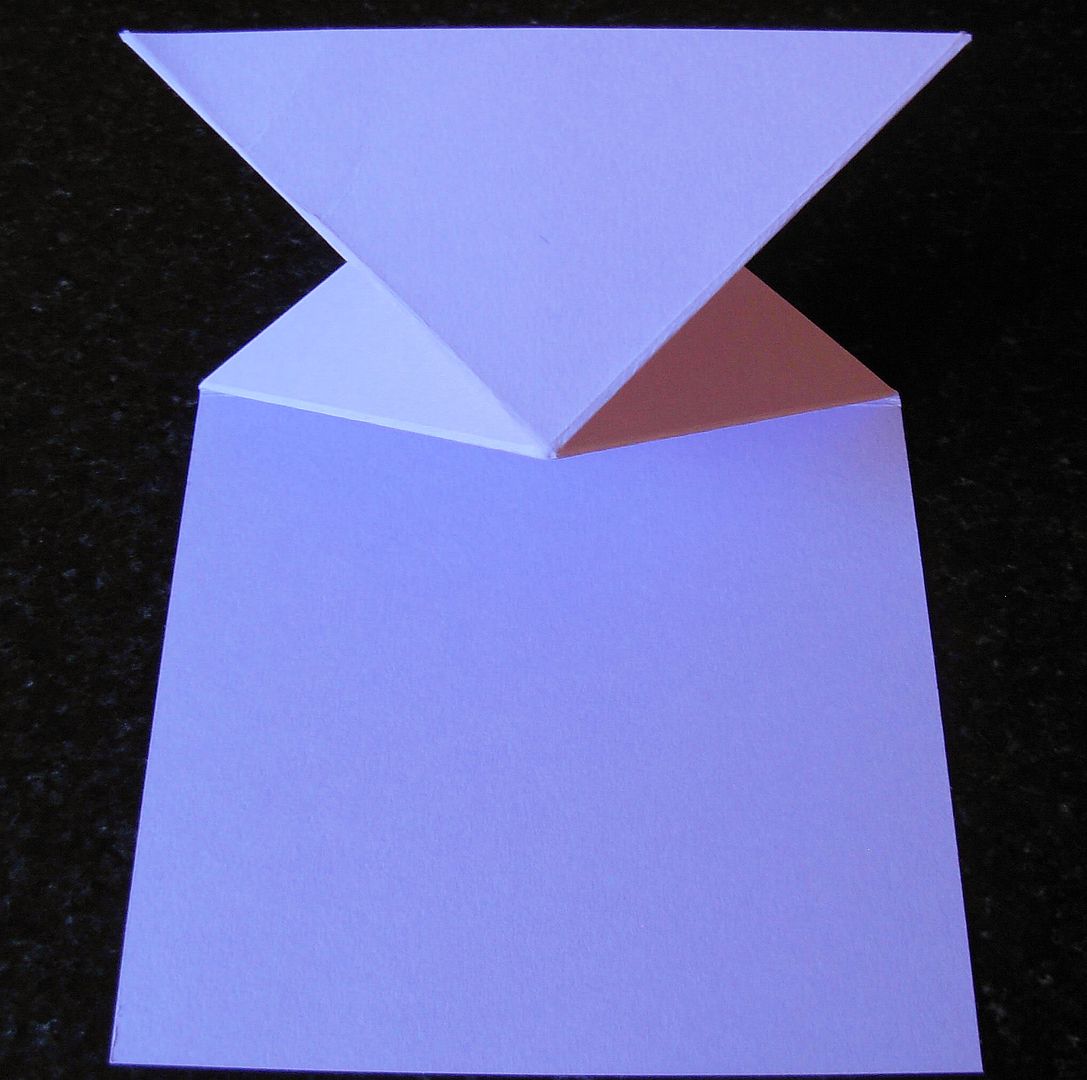
7. Now fold all the scored lines and give them a nice tight crease with your bone folder.
8. Pinching in the middle section to form the spring
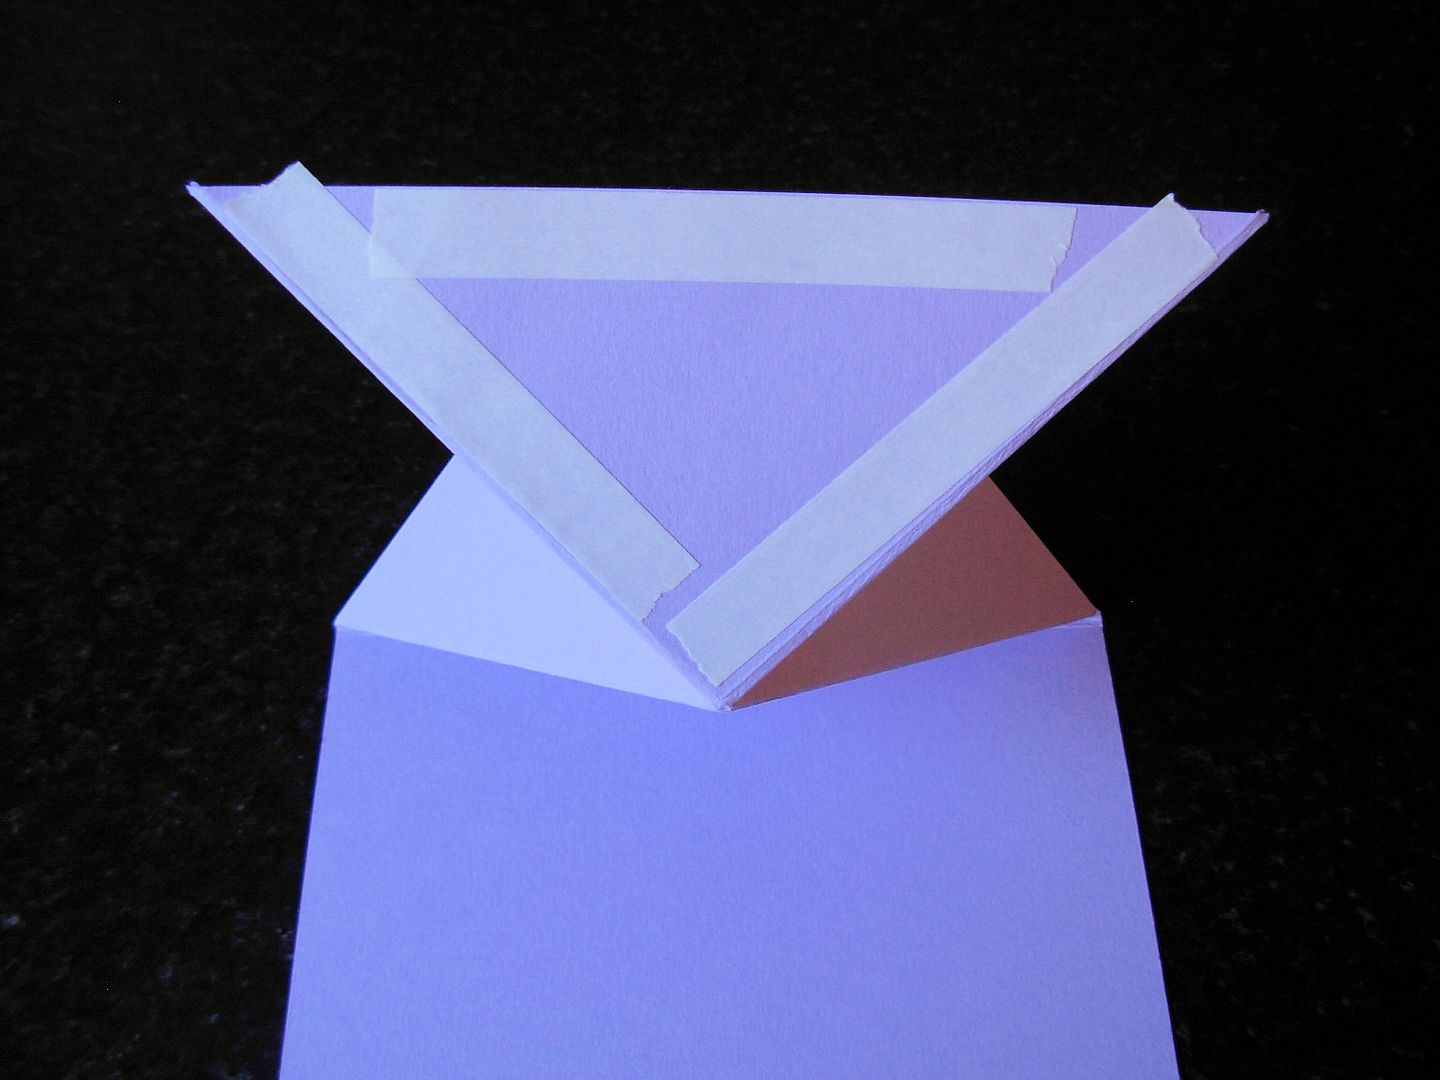
9. Put double sides tape on the top triangle
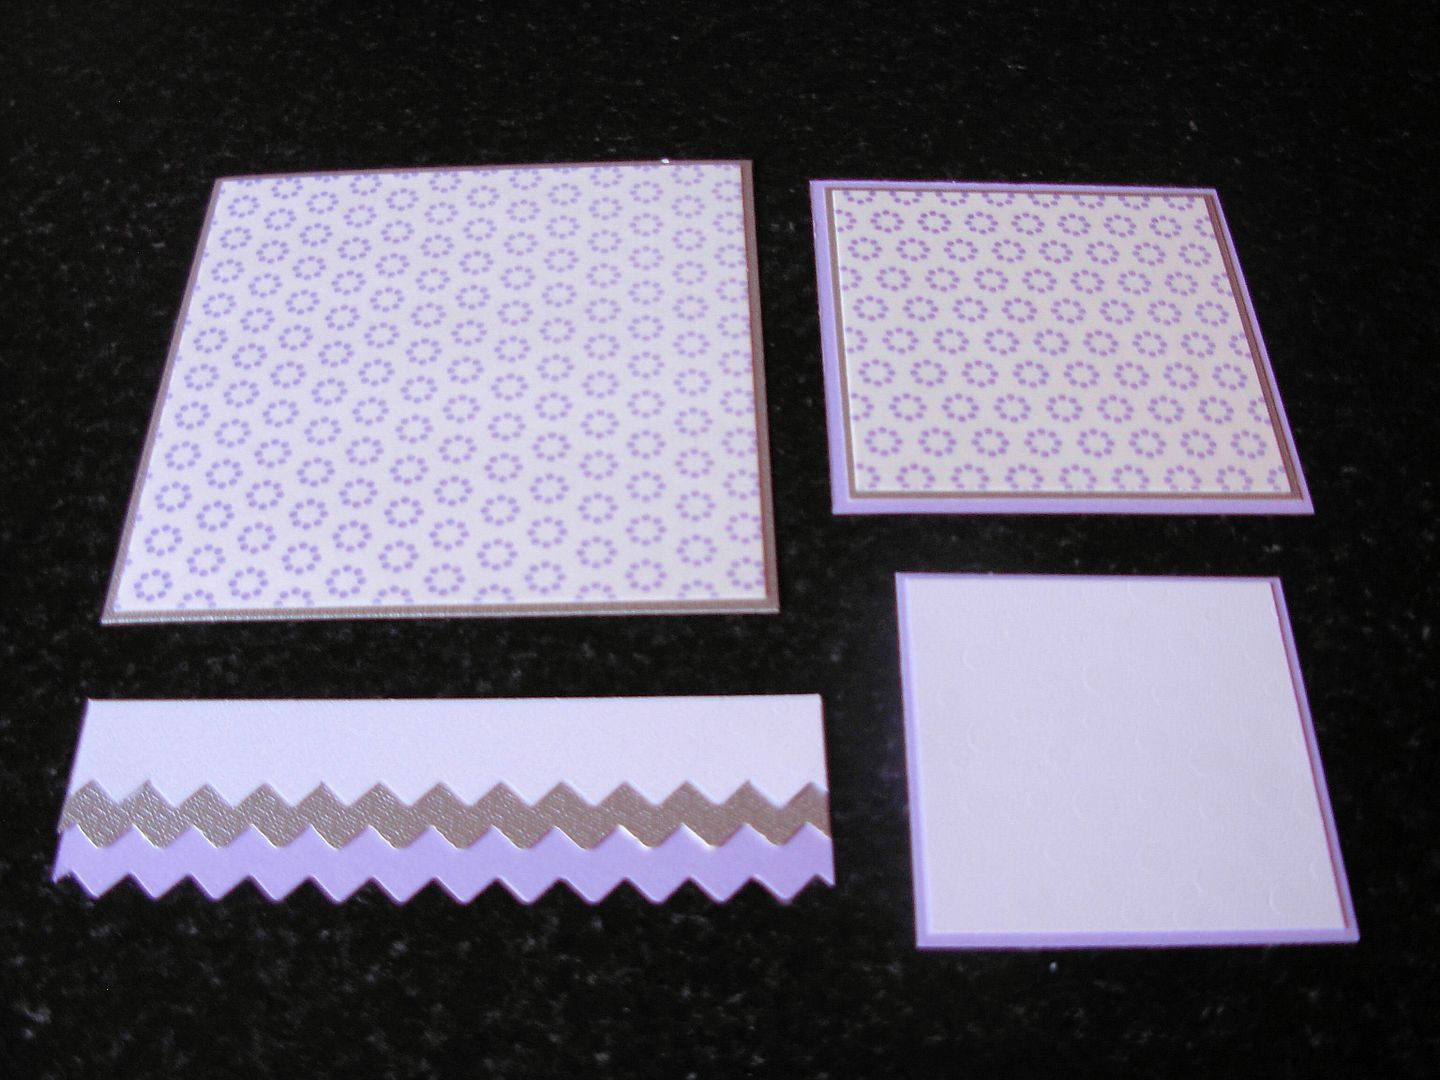
To Decorate the card
10. I now cut a large silver panel 14 -1/2 cm by 14 -1/2cm and a pretty paper panel 14cm by 14cm for the floor of your card.
11. To make the panel for the main card, cut a lilac panel 10 -1/2 cm by 10- 1/2 cm, and a silver panel 10cm by 10cm, and a pretty paper panel 9-1/2 cm by 9. 1/2cm layer them up.
(the main topper is smaller so that when the card is closed it will fit in a C5 envelope)
12. I punched some panels 15cm long in silver lilac and the patterned paper, and layered them up to decorate the floor of the card.
13. And than a 8cm Sq panel in lilac, and a white 7- 1/2cm panel to make my topper,
14. Stick all these panels to your card
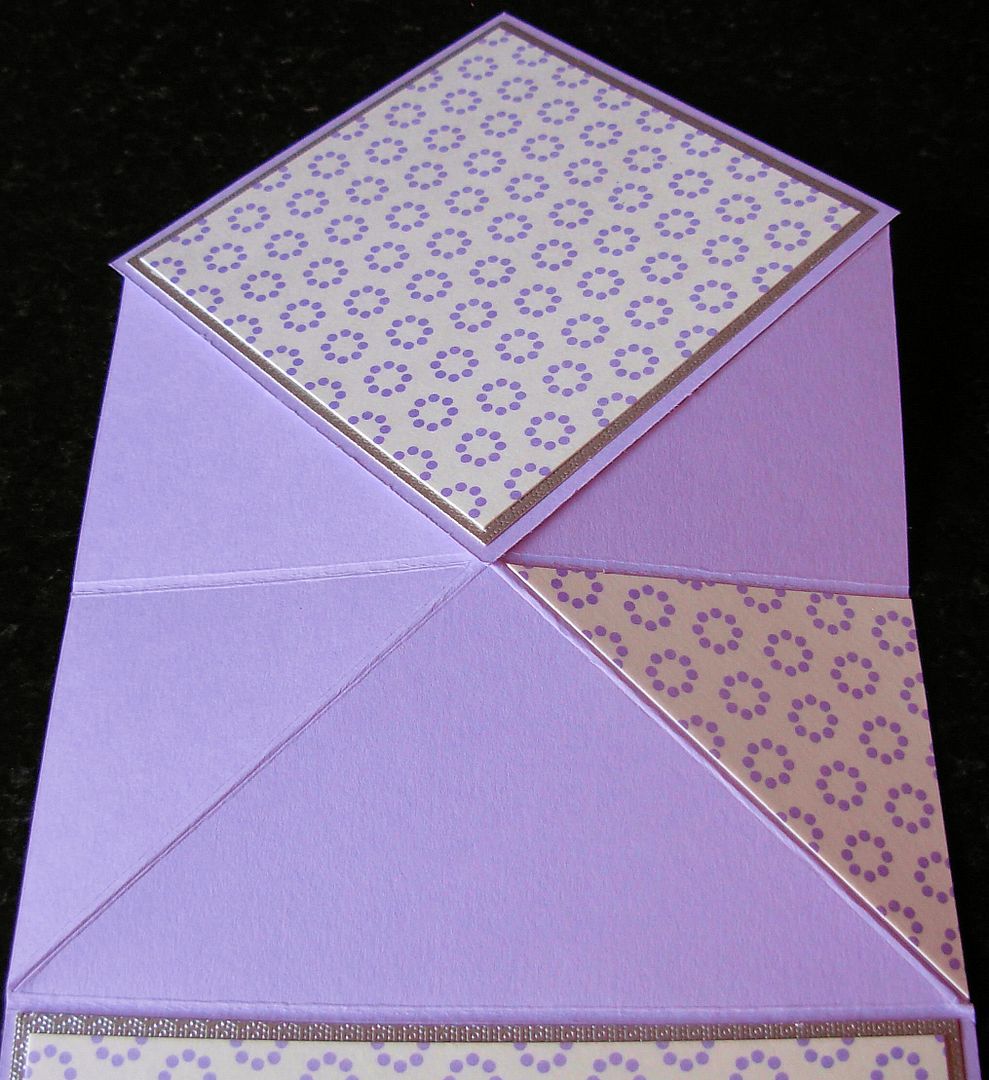
14. To decorate the 4 small triangles
cut a Square 9- 1/2 cm and cut it diagonally,
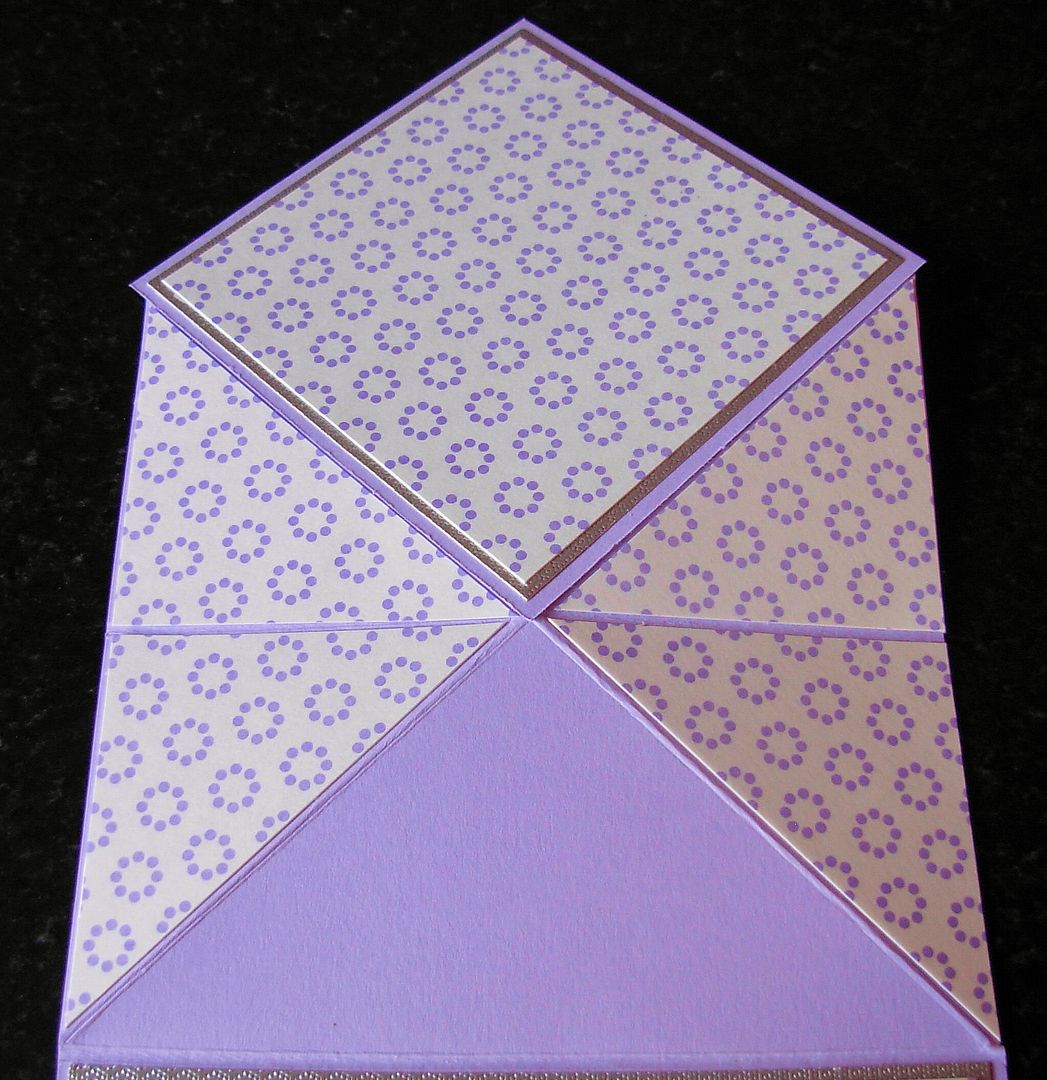
15. And then each triangle in 2 to give you 4 small triangles. Stick these to the main card
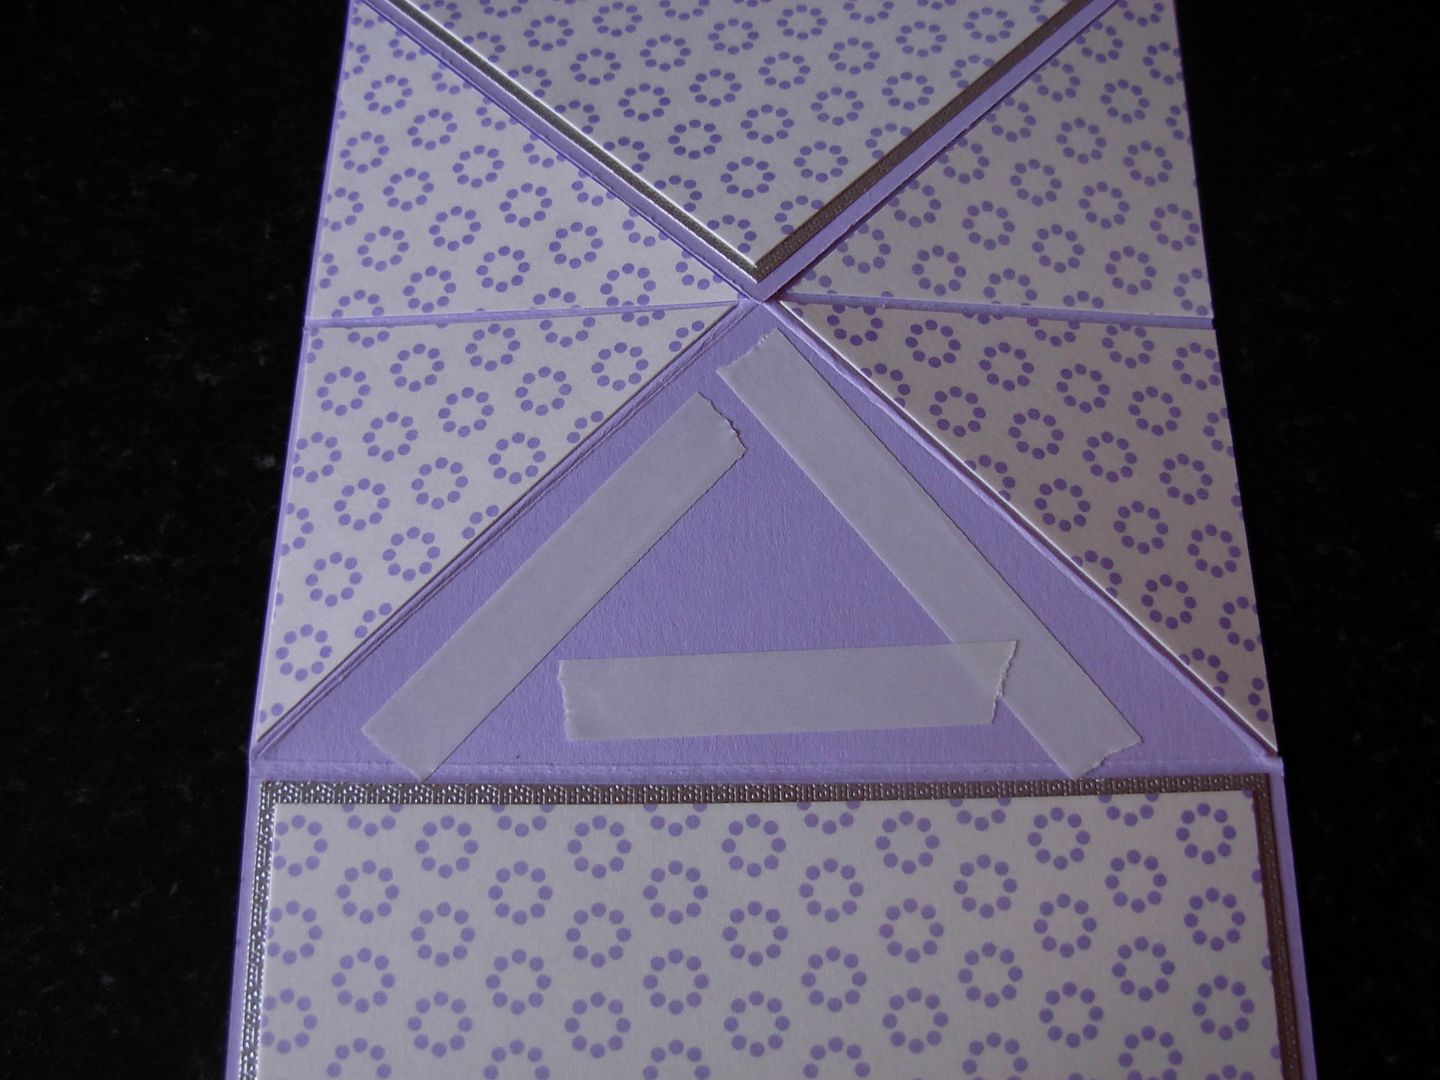
16. Put double sided tape on the last triangle. and stick it to the floor (this allows the Diamond easel to pop-up)
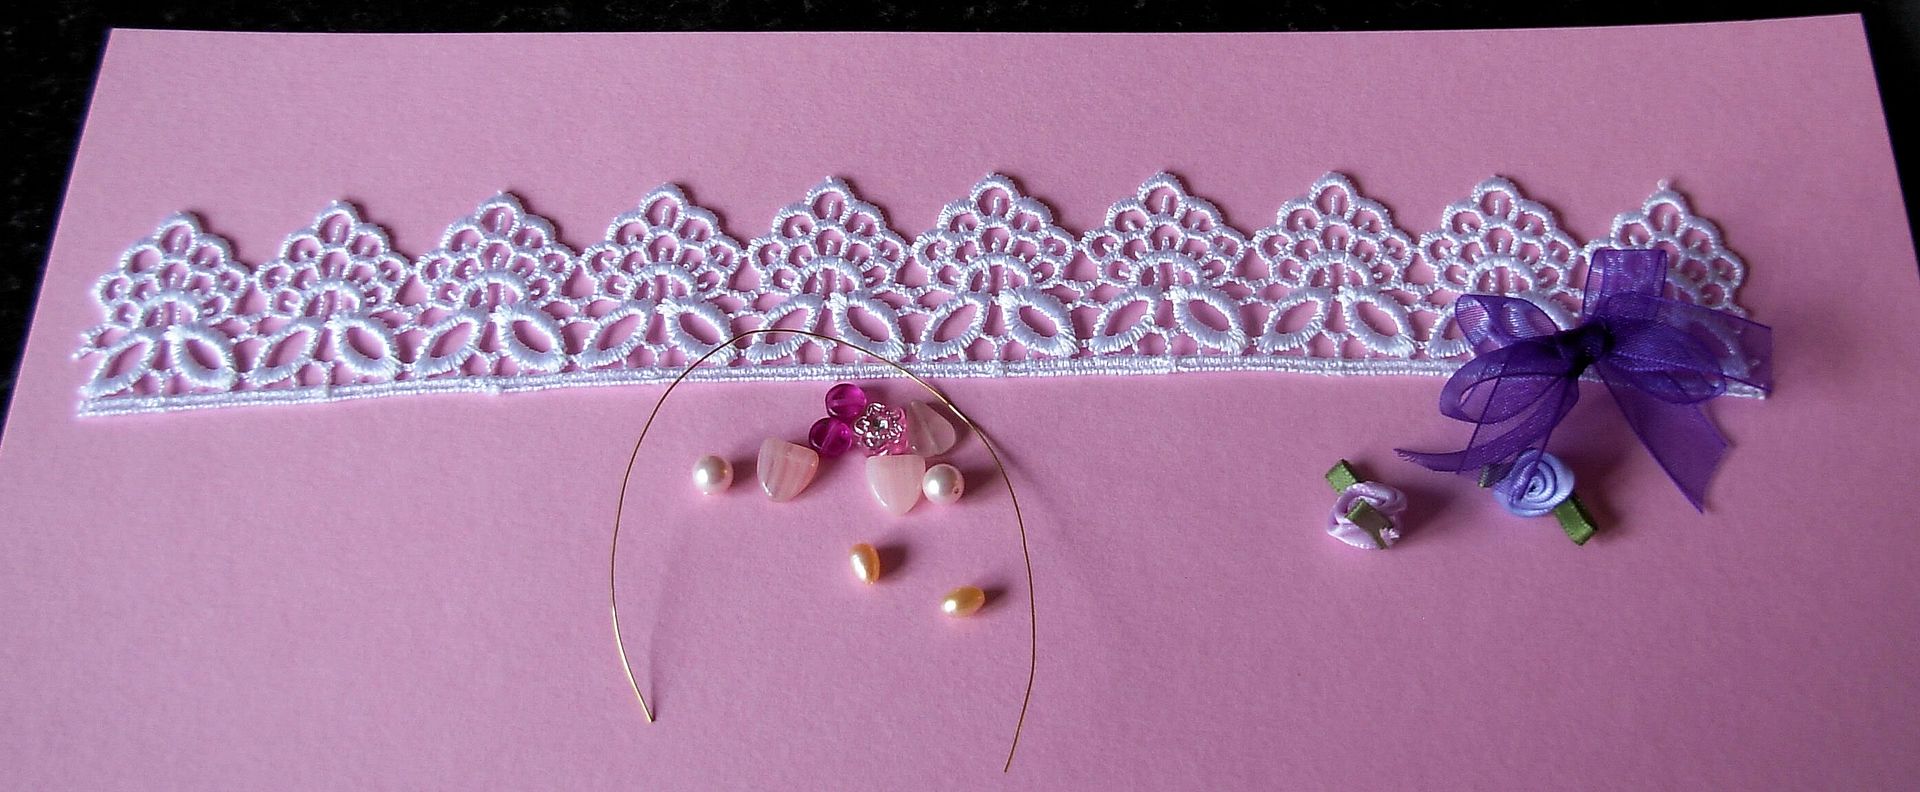
17.To make the vintage lace posy you will need a strip of lace, and some fine wire, or needle and thread.
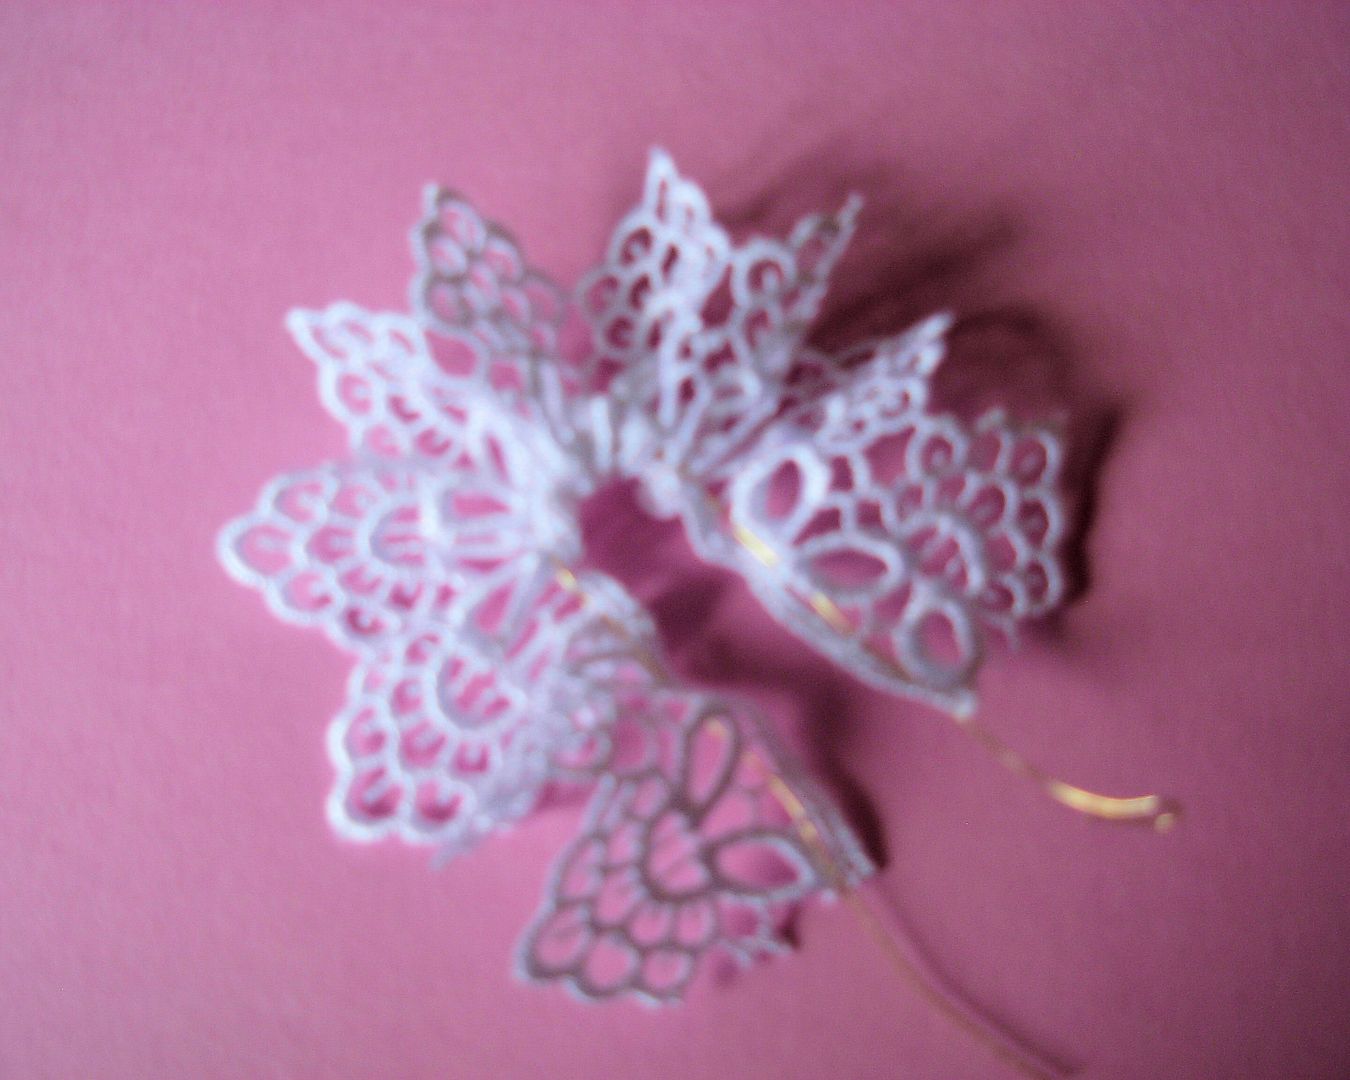
18. Thread the wire through the lace at the straight edge, and pull tightly, twisting the wire to secure it.
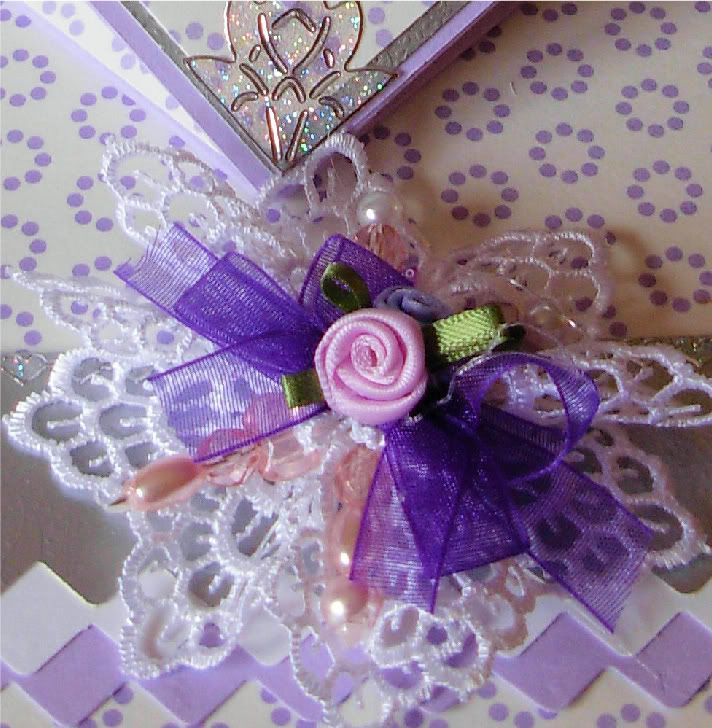
19. I threaded beads on to some pearl headed florist pins, pushed them through the lace posy, threaded a few more beads on the the end of the pin, and secured them with hot glue, (Clare has just given me a great tip, don't push the pins right through the posy and the hot glue will secure it so no sharp ends, you could use 4 pins instead of 2 and you would see them more clearly)
(I am trying to find miniature hat pins, with secure findings, when I do I will give you the link.)
Filigree Fancy pins Here 15 in pack for £1.50 65mm
Wild Orchid crafts Here 10 in pack 79p in 5 different colours 9cm long (perfect)
Or make your own, check penney's for cheap bead necklaces to decorate Pearl headed pins.
I then stuck a tiny organza bow, and some satin roses in the centre. and stuck this to the floor of the card with hot glue.
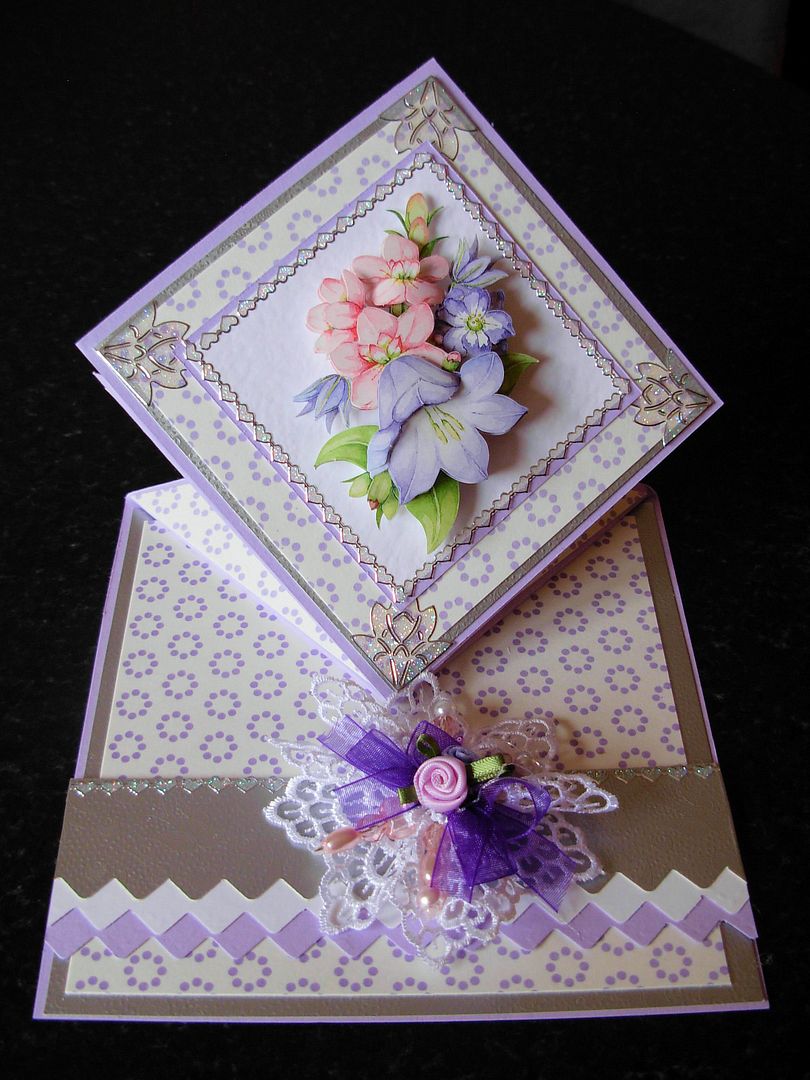
20. Lastly I added my decoupage topper and some peel-offs to finish it off. If you want to add a greeting to this card you could stick one to the back of the main diamond panel.
Hope you enjoy trying this card out.
Yvonne

This is great. I've got a lot of A4 cards.
ReplyDeletethanks Mimi
ReplyDeleteit's lovely to have comments,
keep checking in for more tutorials
all the best and happy crafting
Yvonne
What a lovely card and a great tutorial! Hard to believe that there are only 2 comments!!!
ReplyDeleteI would like to repost it to my blog and link back here, if that is alright with you.
Blessings,
Lyn
http://spectacularprintable.blogspot.com
Hi Lyn
ReplyDeletesorry for late reply, this is an old post so missed your comment, you are more than welcome to use the link,
happy crafting
Yvonne
Hi, This is a beautifully done card, thank you for sharing the instructions and the card to view. Real eye candy. Your tip with the lace was like icing on a cake!
ReplyDeleteI use the Stamping Up Board, or the Martha Stewart board, I'm lost without INCHES.. can you explain the numbers in inches for me please?
thanks much!
This is such an intricate card design!
ReplyDelete