I am very happy for card makers to use my designs and Tutorials for there own personal use, I give permission to other teachers who have attended my classes to use my Tutorials. but would appreciate a credit to the design and instructions.

please get in touch if you would like more information.

Many thanks

Happy Crafting Yvonne xx

Monday, June 13, 2011

Concertina Book Card Tutorial

Instructions for Teddy Birthday Concertina Book Card
And off to the Races
 Front view image
Inside View image

View of Book open flat
1 Score 2 sheets of A4 card in Half
2. Score a A4 Sheet of card for the middle sheet of card on the A4 Half fold line, and on the A4 Concertina line, turn card over and score again on the A4 Concertina line.
3. The Concertina fold card, need to be stuck in between the 2x  C5 Cards.
( to form the book front and back covers.) so stick the 2 outside panels in between the C5 cards, with glue or Double sided tape.
4. Decorate the inside of the card by Matting and Layering the silver card and the printed panels, (you have a right and left panel)
4a. Stick the printed paper panels to the middle section of the card, cut out the teddy with the cake, and matt and layer it on to Pink and purple card,
( if it sits slightly over the spine if the middle card, it wont matter as it will still close and fit neatly in the envelope) Cut out the Birthday banner and fold in half, attach it to the spine of the card, But let it slightly over hand the spine, so that if pop-out when the card is open.

5. Stretch the card full open, (inside face down) and stick the 4 strip of ribbons right across the back with Double sided tape to the covers of the book, allow a tiny bit extra in the centre to allow the card to shut, Stick the larger pink and cream flowers over the ribbon in the concertina on either panel, to hold the ribbon in place.

5. To Decorate the front and back covers, stick the Printed paper to the corner of the pink layer alternating the papers,
Stick the deep pink ribbon across the printed paper with narrow double sided tape, and bring the ends behind the pink card, secure the ribbon with extra tape. Matt this to the purple piece of card, and stick these to the front and back cover.
 6. Matt and layer the teddy images onto lilac and silver card, matt the greeting on to the scrap card in your kit, Stick the Ribbon tails underneath flowers in your kit to each corner.
All images for this card are available from Cuddly buddly

------------------------------------------------


Tutorial for Fathers Day Card
Off to the Races 
1. Fold A4 sheet of card in half, and stick the insert inside, (remember to trim the insert first and add some punched detail corners,) (see post below on inserts) 
2. Stick a 14 -1/2 cm by 20 -1/2 cm piece of gold card to main card,
3. Stick the 14cm by 20cm sheet of printed paper to the gold card centrally.
4. Stick the 5cm by 20cm blue strip of card to the 6cm by 21cm strip of gold card, and stick this about 1 cm from the bottom of card.
5. Cut out the main horse image and matt and layer to the blue card and then gold. and stick it to the right hand side of card, overlapping the blue and gold strip.. add the decoupage layers to the horse.
6. Add the Racing memorabilia to the left hand side of card, I found the selection I used on Google images.
6.  Matt and layer the greeting on to the blue card and then gold card.
7. Lastly stick the gold trophy to the left hand side of the blue and gold strip. 

Friday, June 3, 2011

Insert Tutorial

Instructions for Inserts for C5 Portrait Card
Which is a A4 sheet of card landscape scored and folded in half

I get asked a lot, about how do I do my inserts?
Well this is how I do mine. So here it goes.

Open a new page in Microsoft word,

Go into PAGE LAYOUT 
you will find this at the top of the screen, in the tool tabs

Change page layout to landscape. ( go into file, click on page set up, you will see Orientations, either Portrait or Landscape, click landscape.

Add 2 columns, (to find the column tool, the symbol looks like this 
_ _
_ _
_ _
_ _

And should be on your tool bar menu
You will then have to move the spacer bars over to ½ cm at both sides, this will give you 2 even spaced columns, and will make the insert centralised.

Now to add a picture

Go to goggle click on images, and choose an image i.e. if you are doing a wedding card look for wedding bells/wedding flowers/wedding rings. click on the image,
 Copy image and paste to your left column, centralise the image and drop down to where you want the image to be on the sheet, you can add a greeting underneath the image or a date if you want.

Now drop down until you jump over to the right column. And type your poem or greeting, choose a font colour to match the image, choose font size and the font you like, centralise the greeting and drop down to centre of sheet, and print

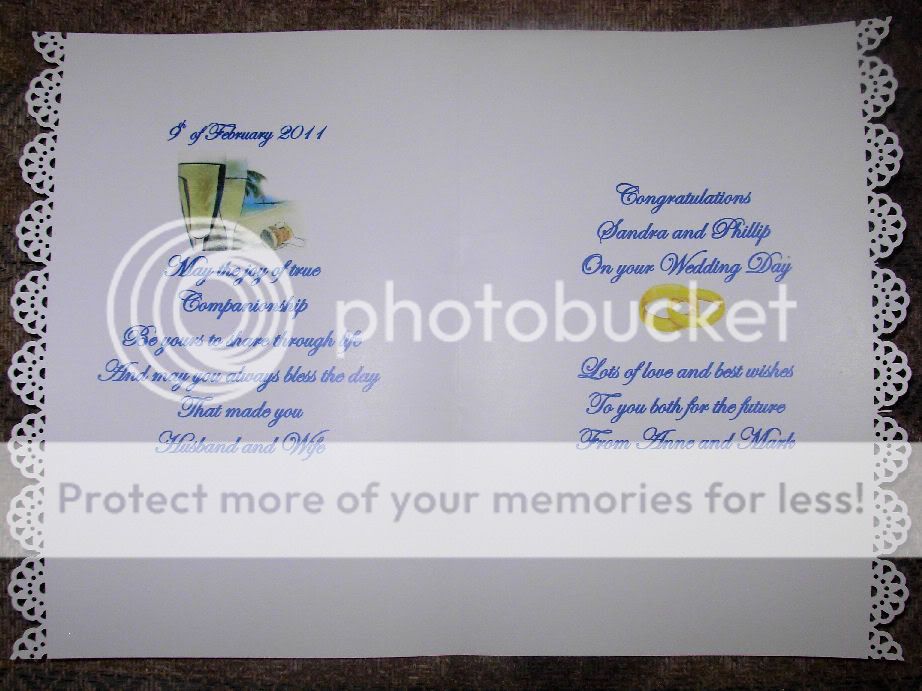
See picture below
Photobucket


Your page will be slightly to big to fit inside a C5 card so fold in half and trim about 3 mm from the sides and 3mm from either top or bottom of the insert, use a corner or a boarder punch to add some pretty detail.

To fit your insert inside your card, add a small 2 to 3 inch strip of double sided tape in the middle of the insert, to both sides of the insert about 1 inch in from the bind

Remove tape from one side only. Open card wide and Make sure both binds are fitting snugly together (this means the insert and the inside fold of the card) now close your card and tape will stick to one side of your card only, now remove the tape from the other side and close again. this works perfectly for me,

C5 landscape card
The new page will open in Portrait style


If you want to do a A4 sheet folded in half for a C5 card landscape
Open a page in microsoft word, it will automatically be set to portrait, simply add your image to the centre of the top half
scroll down past 17cm in the margin
and type your greeting, repeat the steps above.
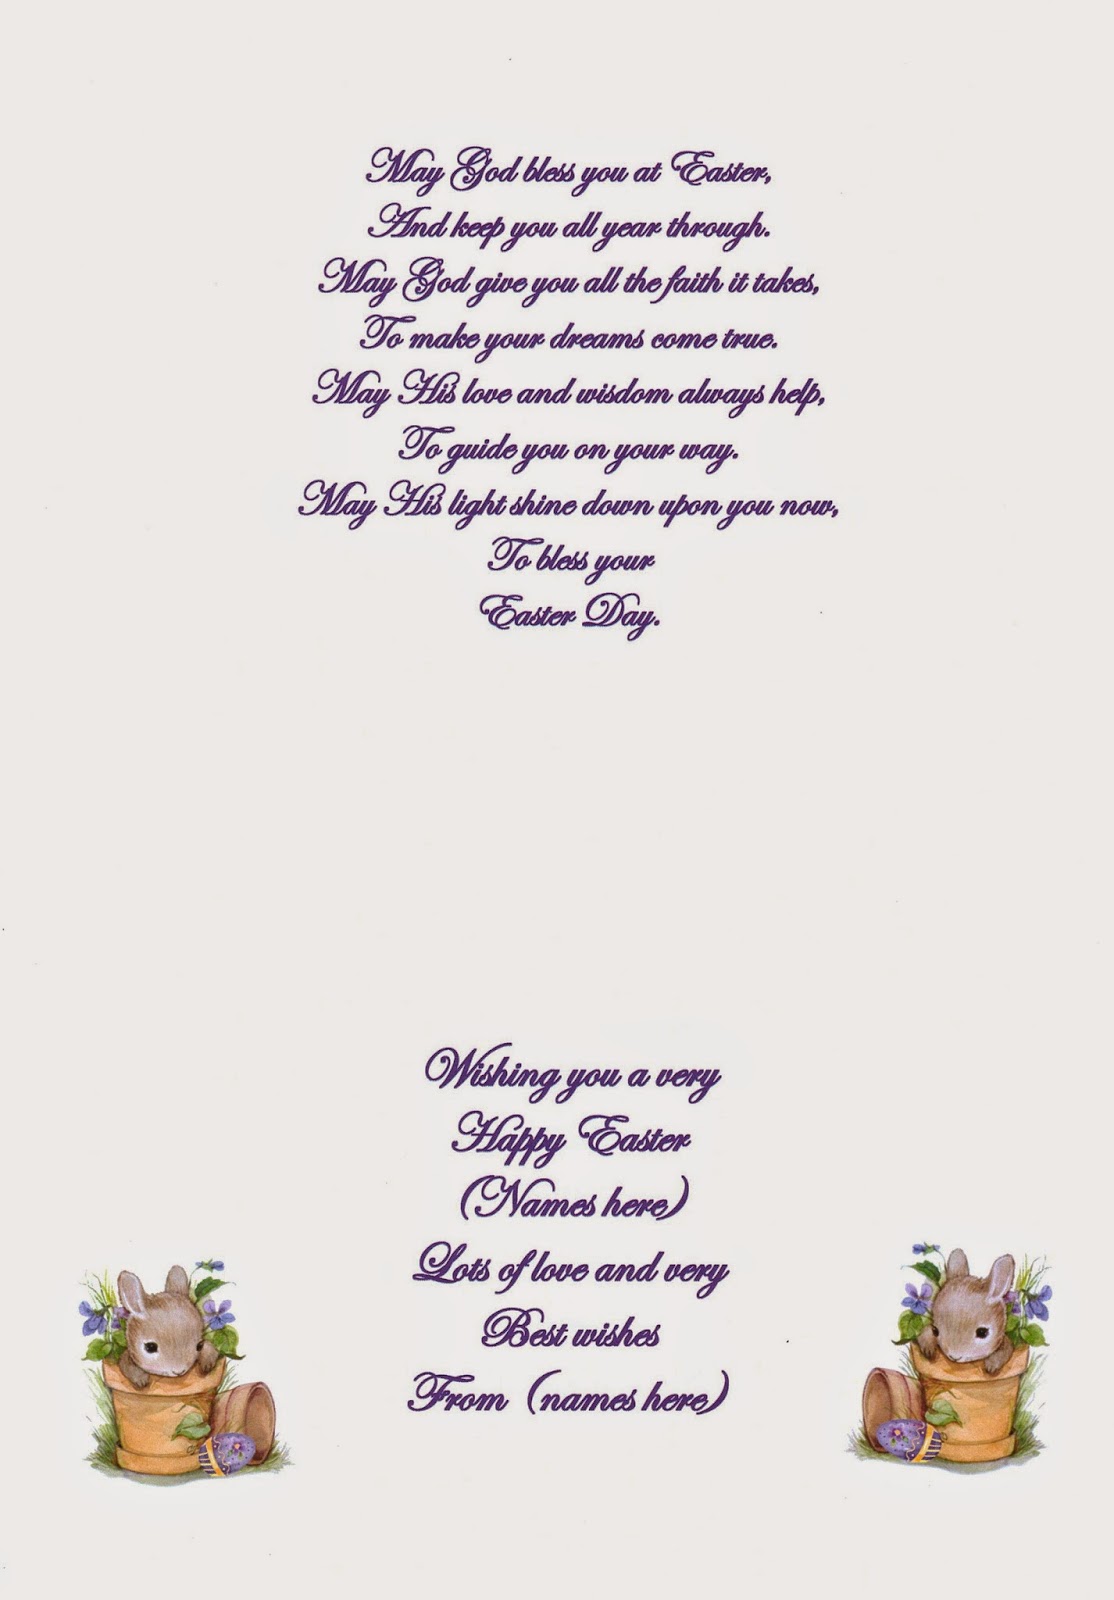


Or you can follow the steps above to split the page into 2 columns.
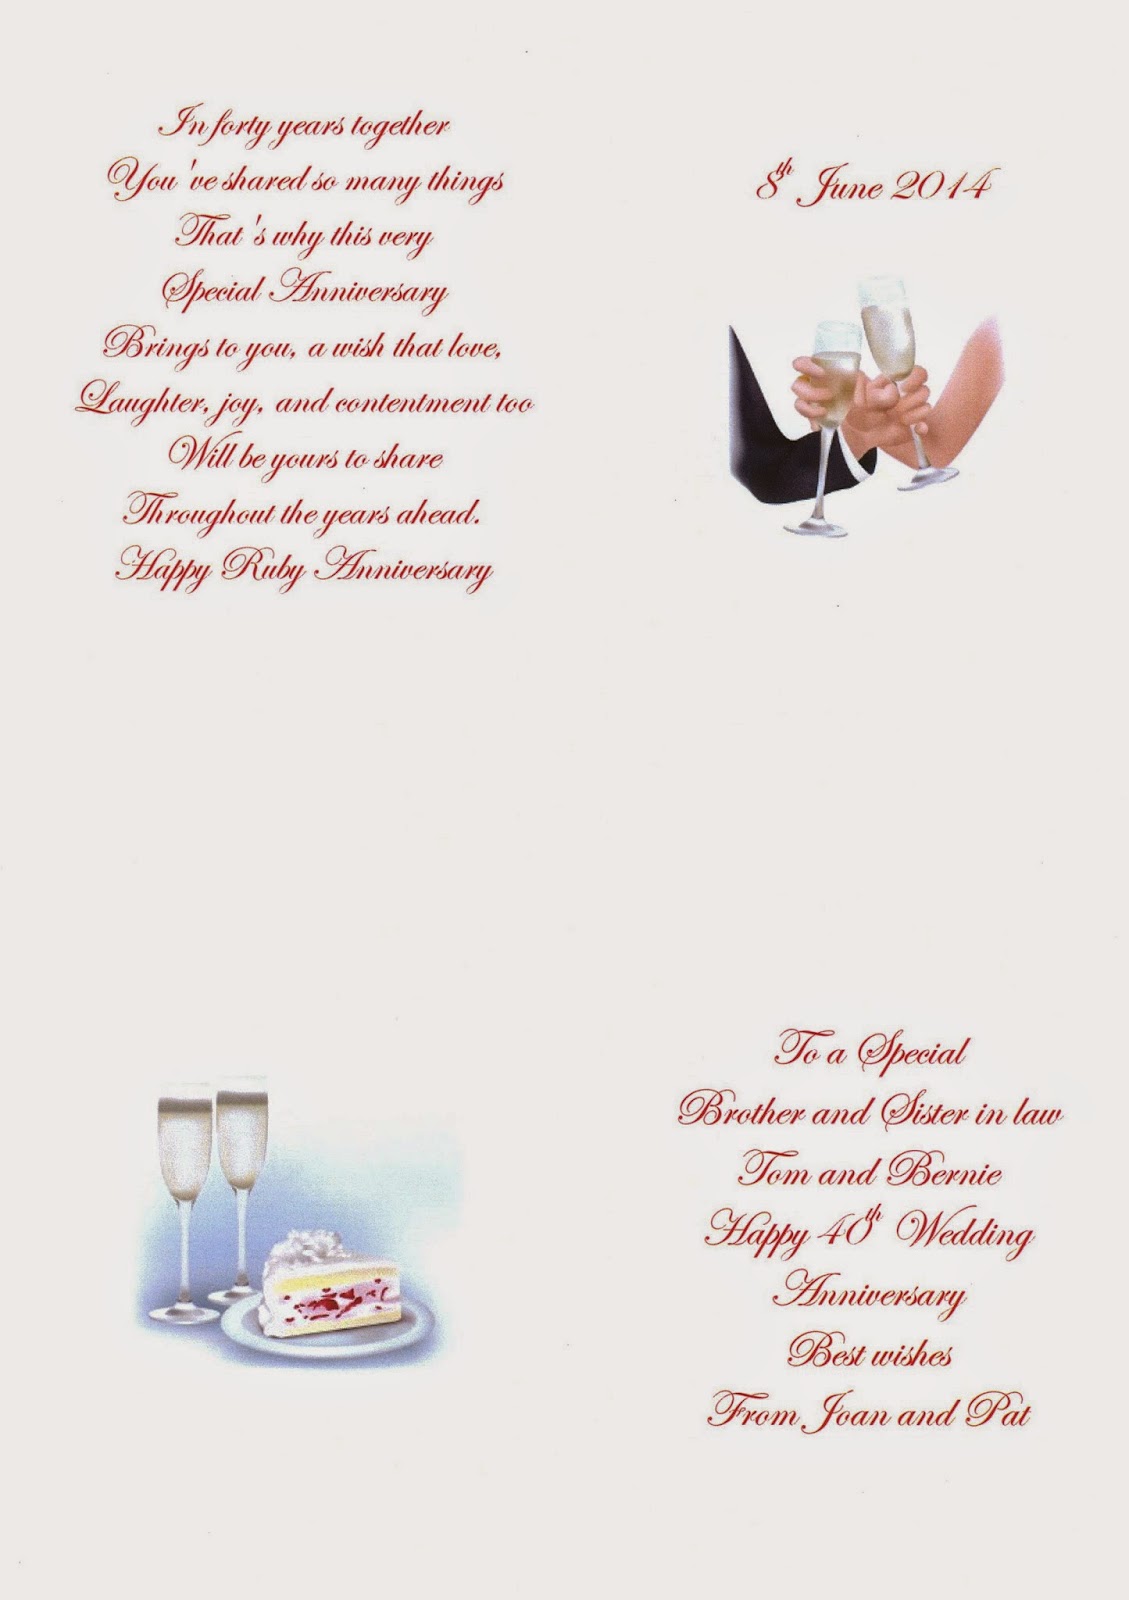


For a C6
Open a page in microsoft word, it will automatically be set to portrait, move top margins to 1/2 cm either side, and add 2 columns 
Add your first image to the top half of left column, scroll down and add a second image about 19cm down the page. drop down till you jump across to the 2nd column, and add your greeting, opposite each image. this will give you 2 inserts for C6 size cards.

8 by 8 inch Cards
Open a page in microsoft word, 
set margins to 19cm on top, and 19cm on side.
Add you poem or verse to the 1st page, this will be your left hand insert panel ,

Add your image, and greeting to the 2nd page, this will be your right insert panel.

Trim both pages to 19cm Sq to fit flat to the inside of your card.
If you don't use the margins. You will have enough room at bottom of page to add your image landscape layout. and greeting to the bottom of the right hand panel.

7 by 7 inch Cards
Open a page in microsoft word, 
set margins to 17cm on top, and 17cm on side.
Add you poem or verse to the 1st page, this will be your left hand insert panel ,

Add your image, and greeting to the 2nd page, this will be your right insert panel.

Trim both pages to 17cm Sq to fit flat to the inside of your card.
If you don't use the margins. You will have enough room at bottom of page to add your image landscape layout. and greeting to the bottom of the right hand panel.


Hope this helps anyone struggling with there inserts 
Yvonne

If you would like to change the font colour to Gold/Silver
you can find the settings HERE